Growing Bananas
Every time I talk about growing bananas I think it is BANANAS!! From someone who grew up in a cold climate, bananas were imported in. Now here we are growing bananas in our garden! Talk about tropical living.
I often get asked about “how do you do it??” So I thought I’d put a blog post together for you all.

A friend was getting rid of three bananas trees he had in his garden because they never fruited. Ben said “I’ll take them, always up for a challenge!”
So we planted all three in the garden, not doing a hole lot of research, planted them in a semi shady spot. And honestly thought they would just grow. They didn’t! So we spent a good few days watching YouTube videos, reading books, articles you name it, to work out how to grow bananas in your garden.
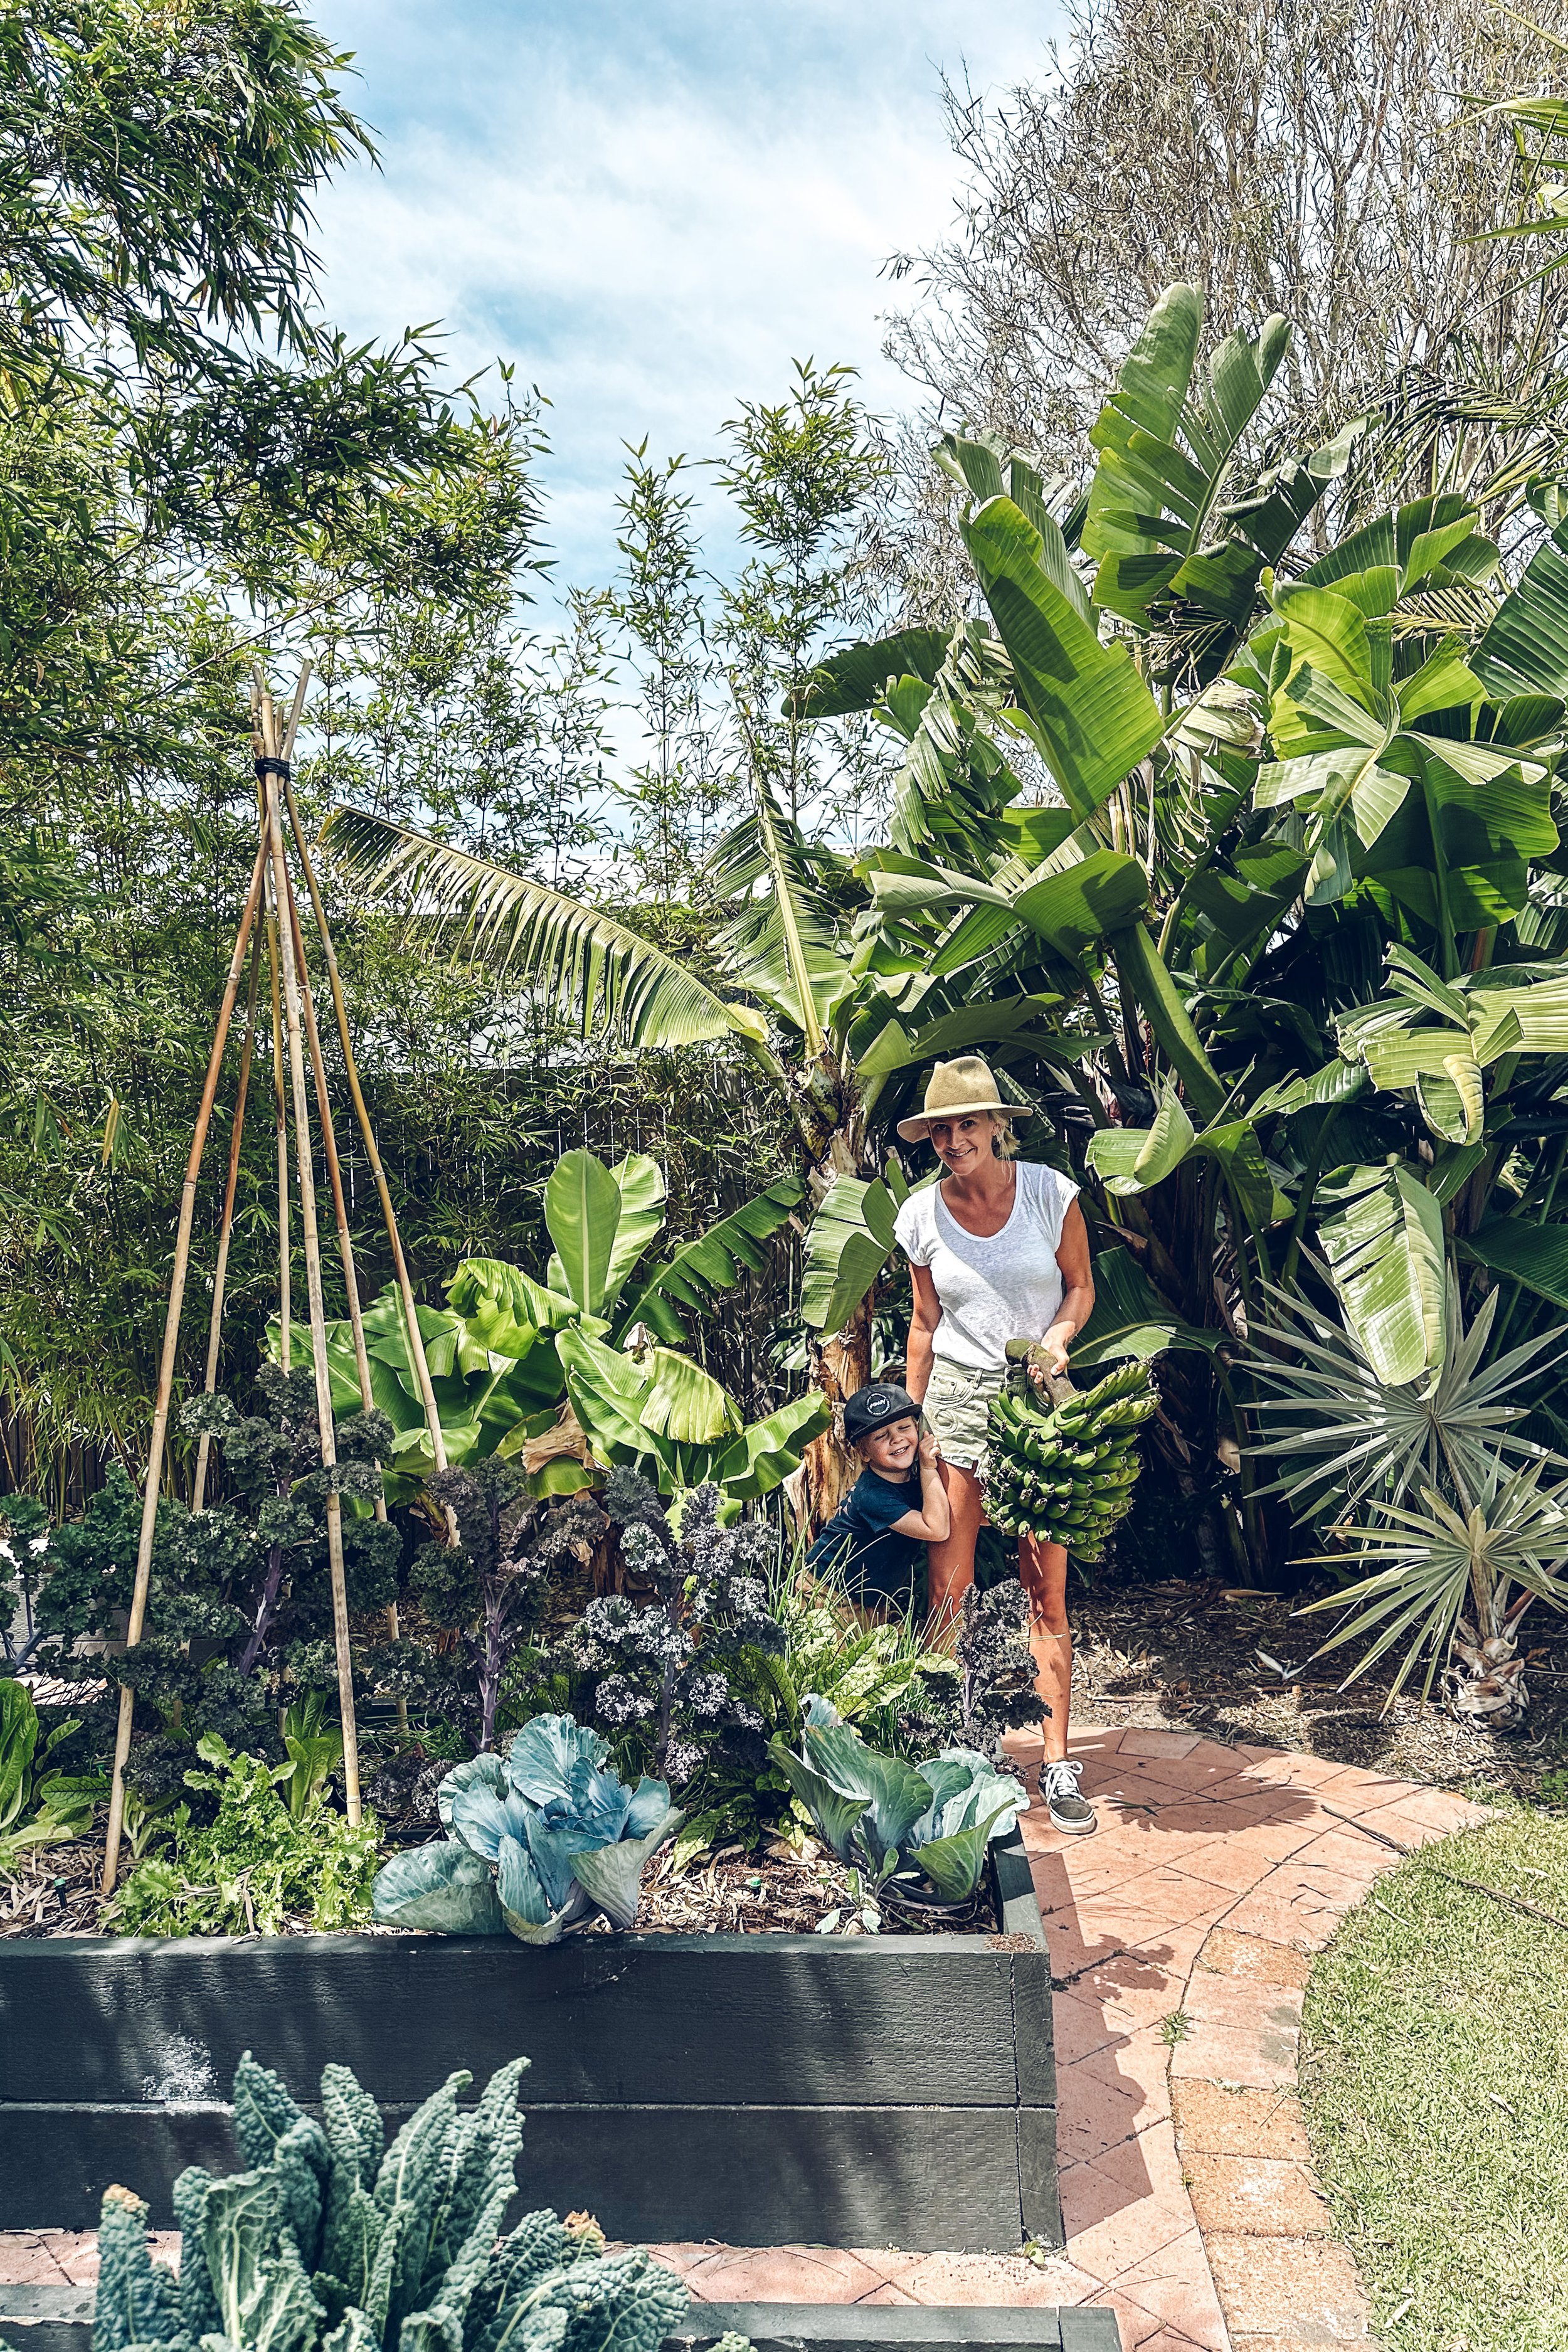
We moved them into a sunny spot in the garden, planted them half a metre away from one another in a triangle shape (three banana trees in total all at different stages of growth) and attached a water dropper system. THIS is was a game changer! We then fertilised them with organic rooster booster (chicken poo) and seasol (liquid seaweed). And around 9 months later they started to fruit. The fertilising was x2 times a year.
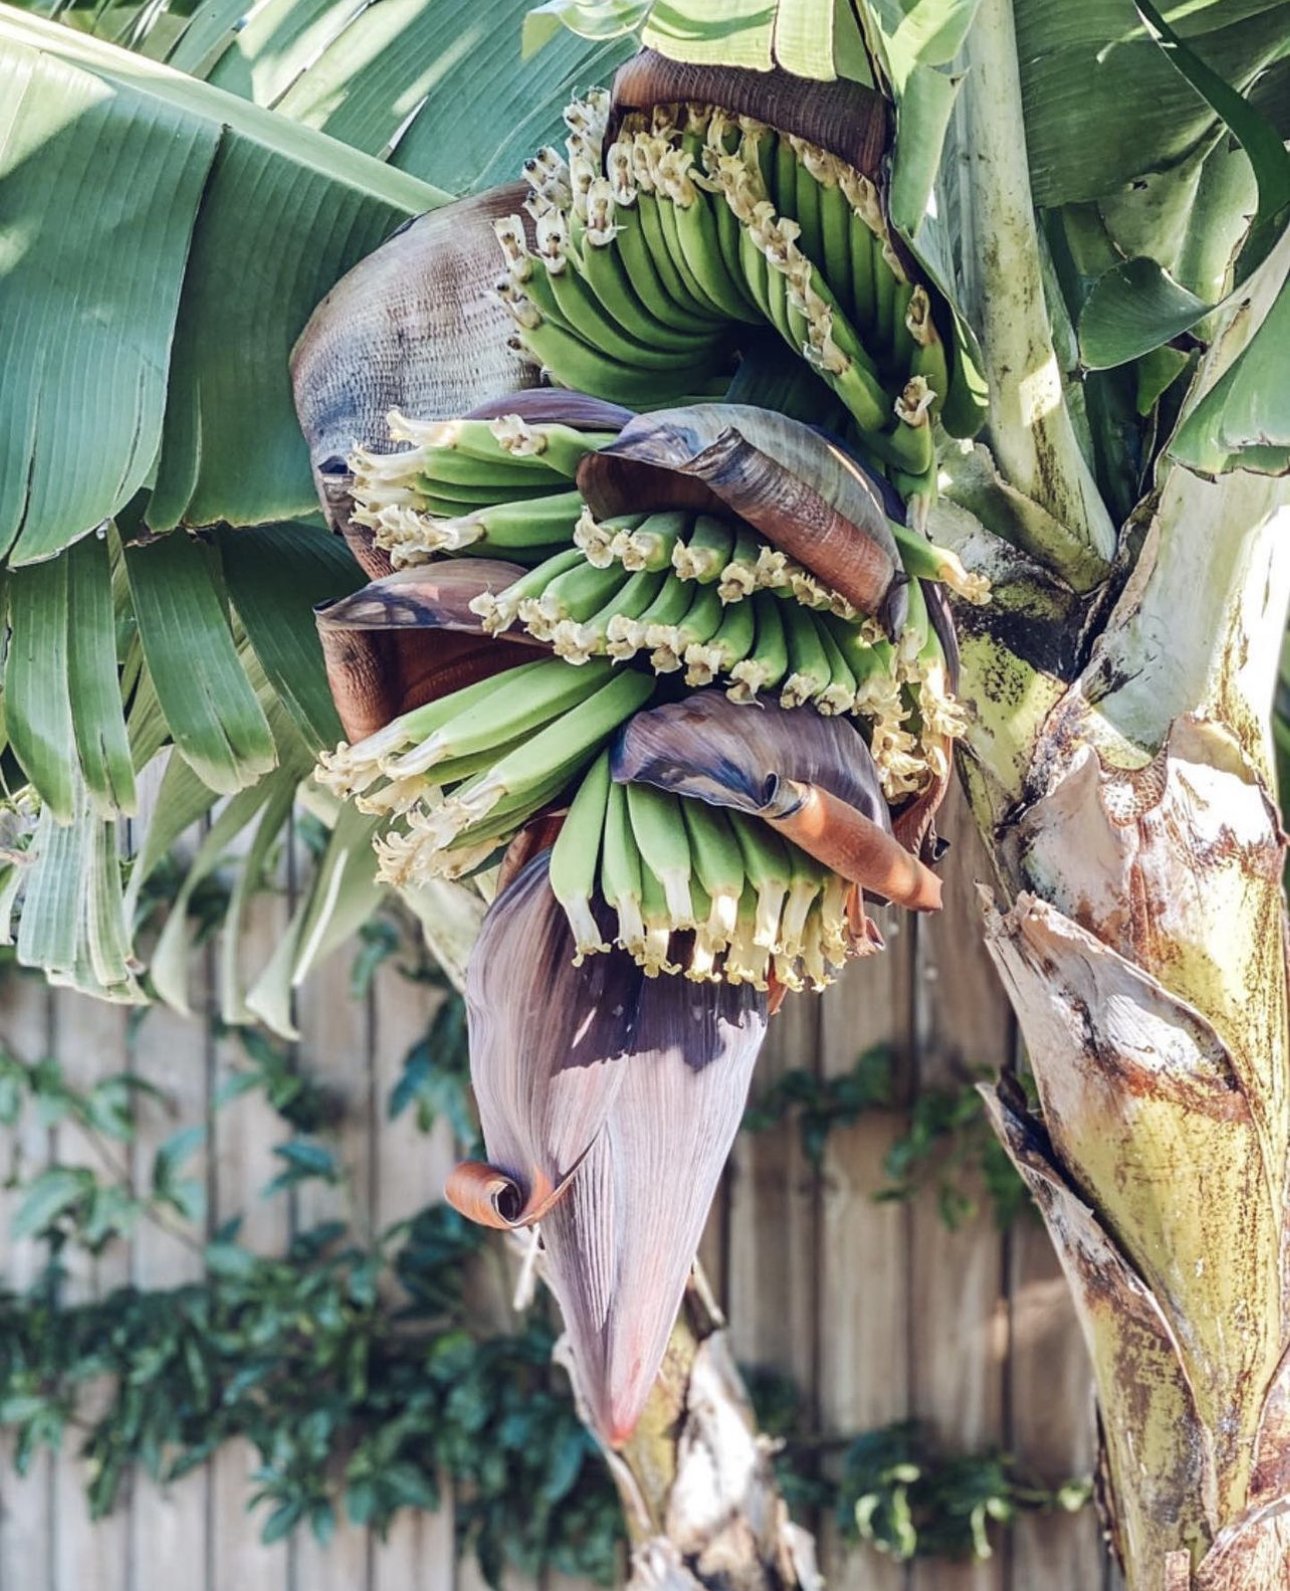
When there are small rung of bananas coming though close to the peak, we learnt it’s best to cut it off and allow the energy of the growth to go into the first 8 layers of rungs. It gets heavy and you don’t want it draping and dropping off after 10 months of love!

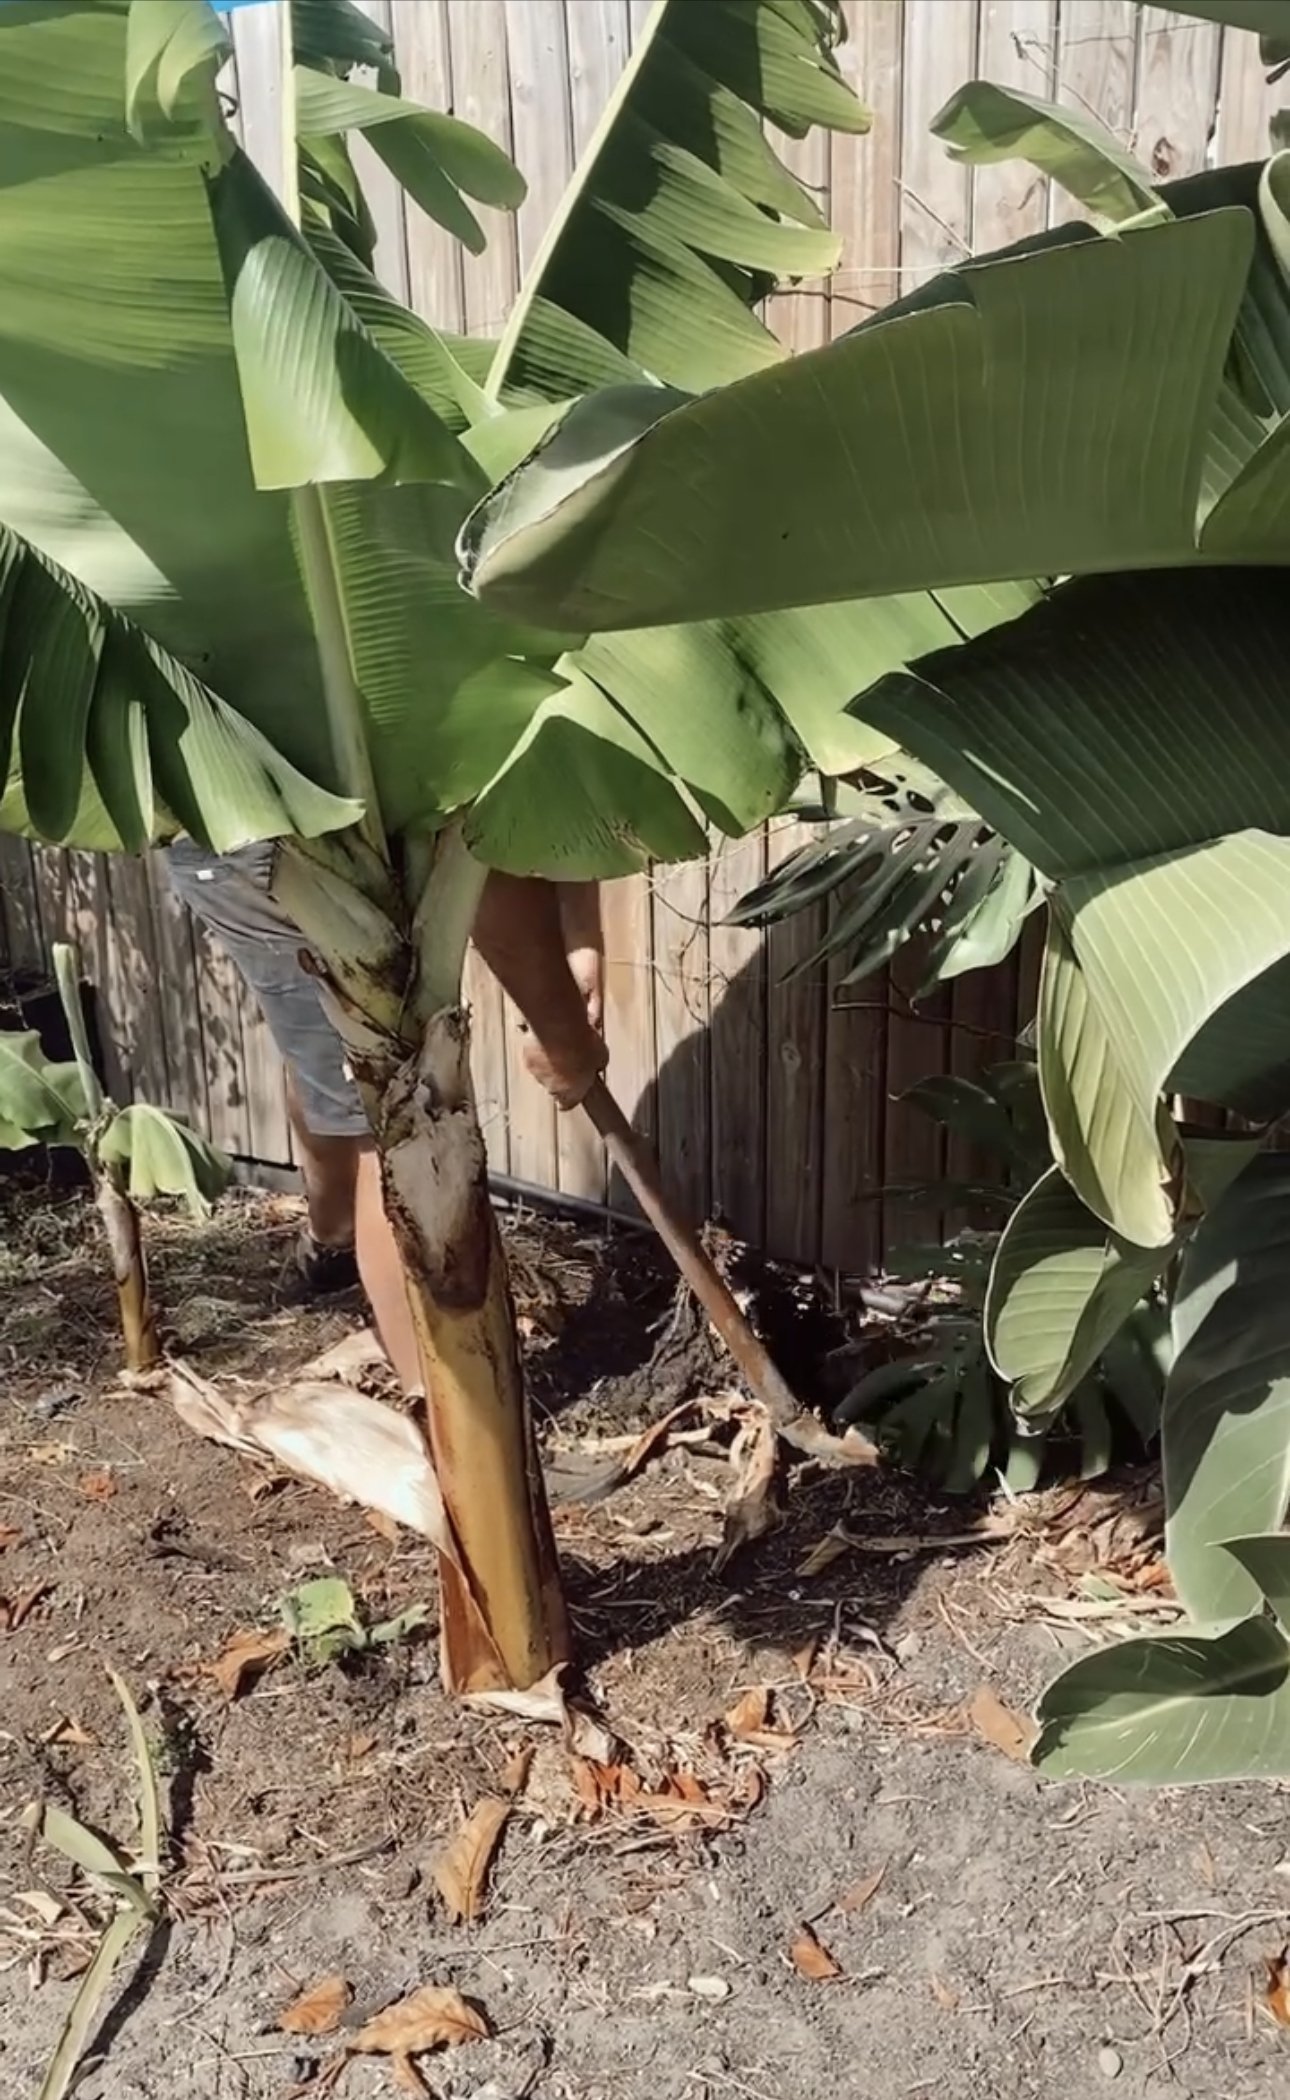
When there are baby banana tree off shoots growing around the base of the tree, dig them out. The goal is you want all the energy and plant growth to go into the bananas fruiting, not to the baby shoots. Dig them out, Save for later or discard. (You get a few so don’t worry!! Just be sure to save at least one or two.)
The first time we grew the bananas we bagged the main tree with a UV banana bag for about 8 weeks on the fruit to stop them from burning and getting eaten by pests. We have not bagged them for the last two times we have grown them. (Each to their own they flourished without it.) Generally, banana tree harvesting can commence when the fruit on the upper hands are changing from dark green to a light greenish yellow and the fruit is plump. This is when we decided to hang ours to ripen. This speeded up the process…
Apparently you can save the head and cook it too! We have yet to do this, maybe next time.

This next part is CRITICAL to producing more fruit. Once you cut the fruit off you then cut the tree down. I know, when I learnt this my response was “WHATTTT!!!” But the truth is, It can not produce fruit from the same tree. This is why it is important to keep a few shoots and plant again before you have to cut this one down. Rotate. And begin the cycle of banana growing again.
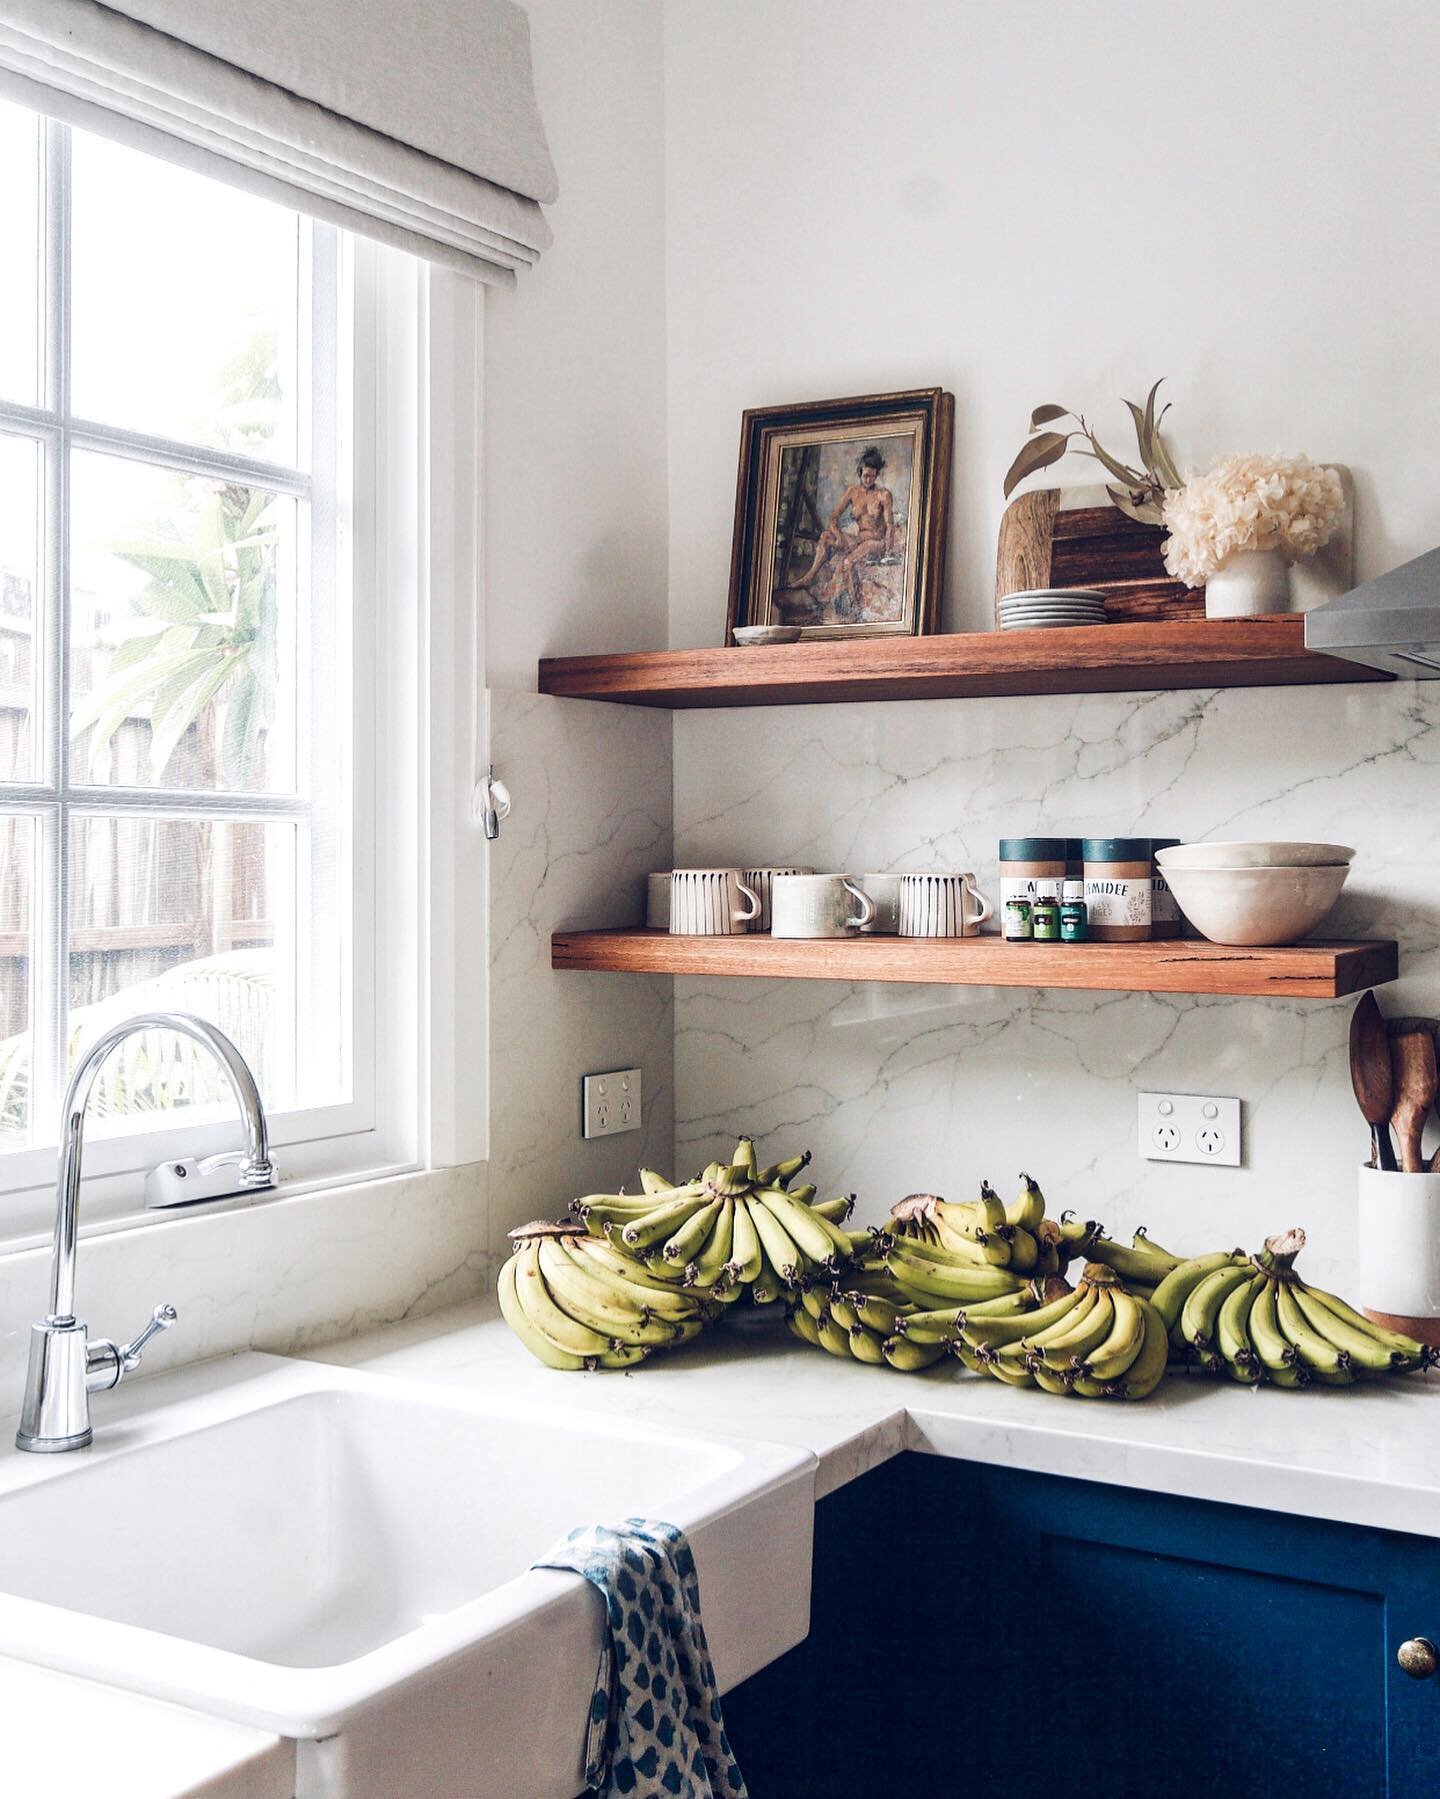
You will get lots of bananas, freeze them, blend them, bake them, or donate them! They taste incredible.
Since we have had our worm farm, we recycle our organic food waste and give it back to the plants. This includes the banana skins! Chop it up and give it to the worms, they’ll make their worm tea, then dilute it with water and pour it on the plants. Watch it here
Enjoy growing your own bananas!

Meet Maddy

Hi, and welcome friends!
We believe in creating and living in a home you love.
Welcome to our journey of renovating our 1950’s red brick house and making it our home. We’re so happy to have you here and help inspire you to love where you live through DIY, design and all things home!
Currently Loving


Recent Posts


Follow Maddy Evennett