Craft Area Idea for kids
Are you tired of seeing kiddie items scattered all over the place? Maybe your cupboards are overflowing with crafts, and toys seem to inhabit every corner of your home. One solution to tackle the overwhelming presence of children's crafts is to set aside a designated area specifically for toys. And if you're in the same boat as us, lacking the luxury of a dedicated playroom, it's time to get creative and design a solution that meets your needs!
Years ago, as my children began accumulating crafts and supplies like shells, buttons, and colouring books, I envisioned a dedicated craft area in our home. This space was designed to be kid-friendly, encouraging self-play and a sense of responsibility. We designated a specific spot for it in what we fondly refer to as the "multi-room" - a space with dual purposes in our home.

Designing a designated craft storage area for kids can be both fun and functional. Here are some tips to help you create an organised and inspiring space:
Accessible Storage: Choose storage solutions that are easy for kids to access and use independently. Open shelves, clear bins, and labeled containers can make it simple for kids to find and put away their craft supplies.
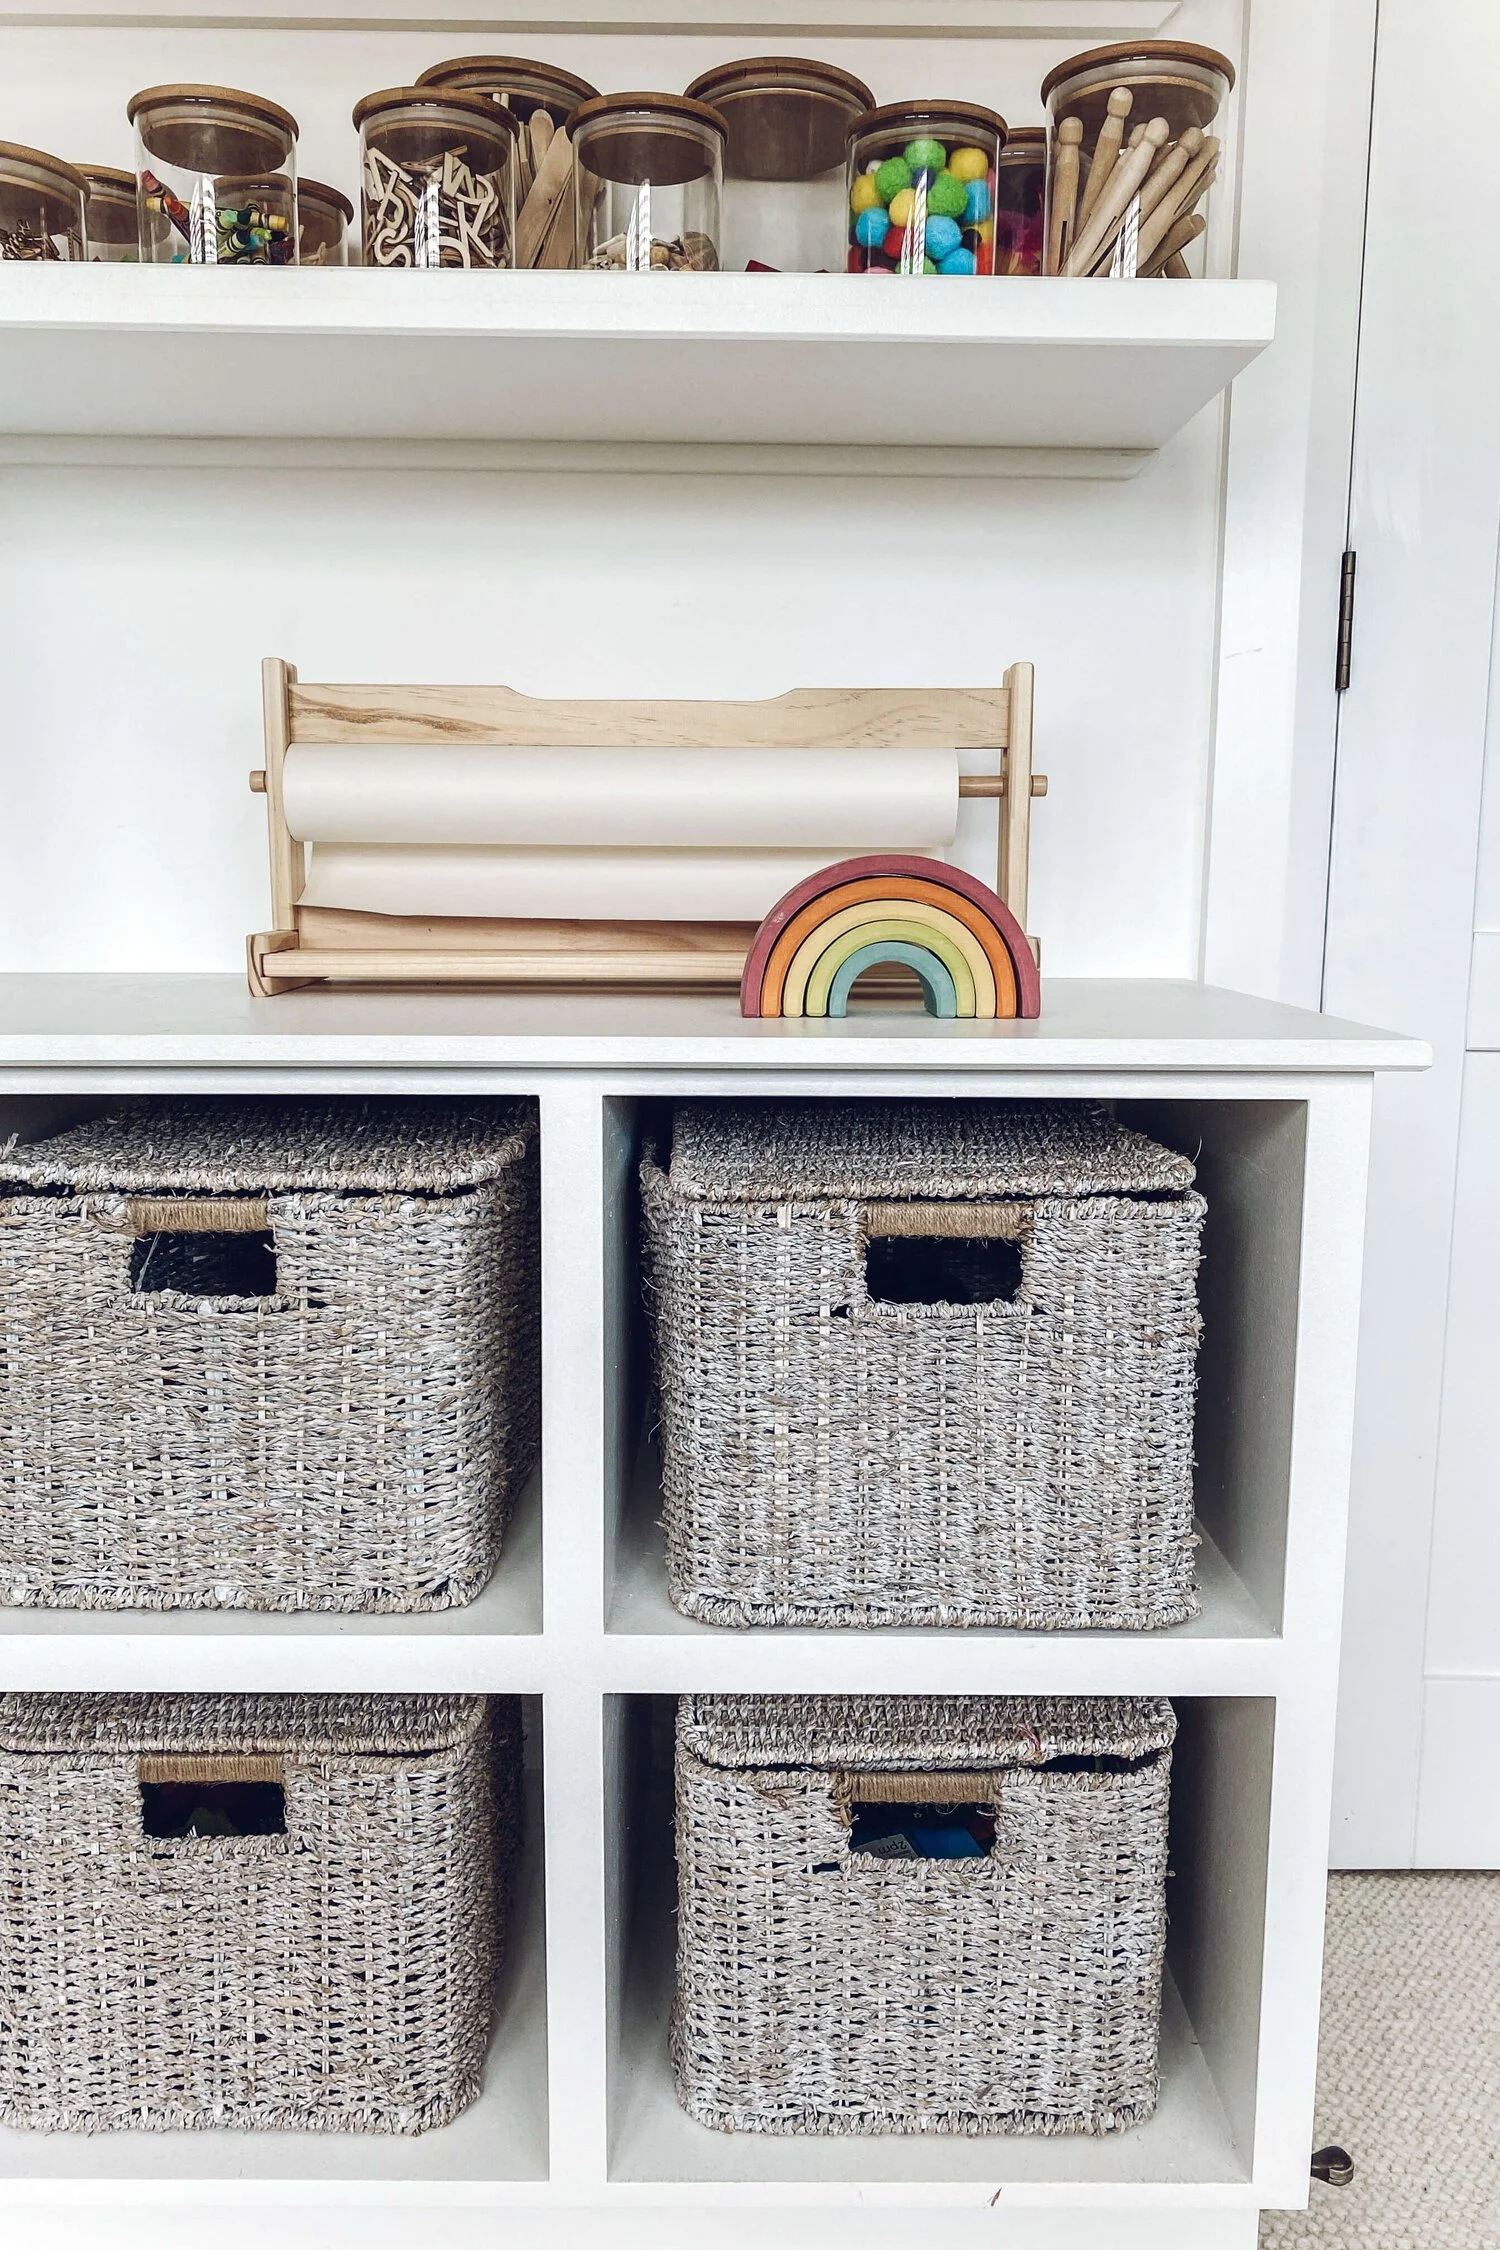
Child-Friendly Height: Ensure that storage bins, shelves, and work surfaces are at a height that is comfortable and accessible for children. This encourages independence and fosters a sense of ownership over their creative space. For us, I found the baskets first and designed the MDF shelves around the baskets! Knowing these would be easy and within reach for the kids.
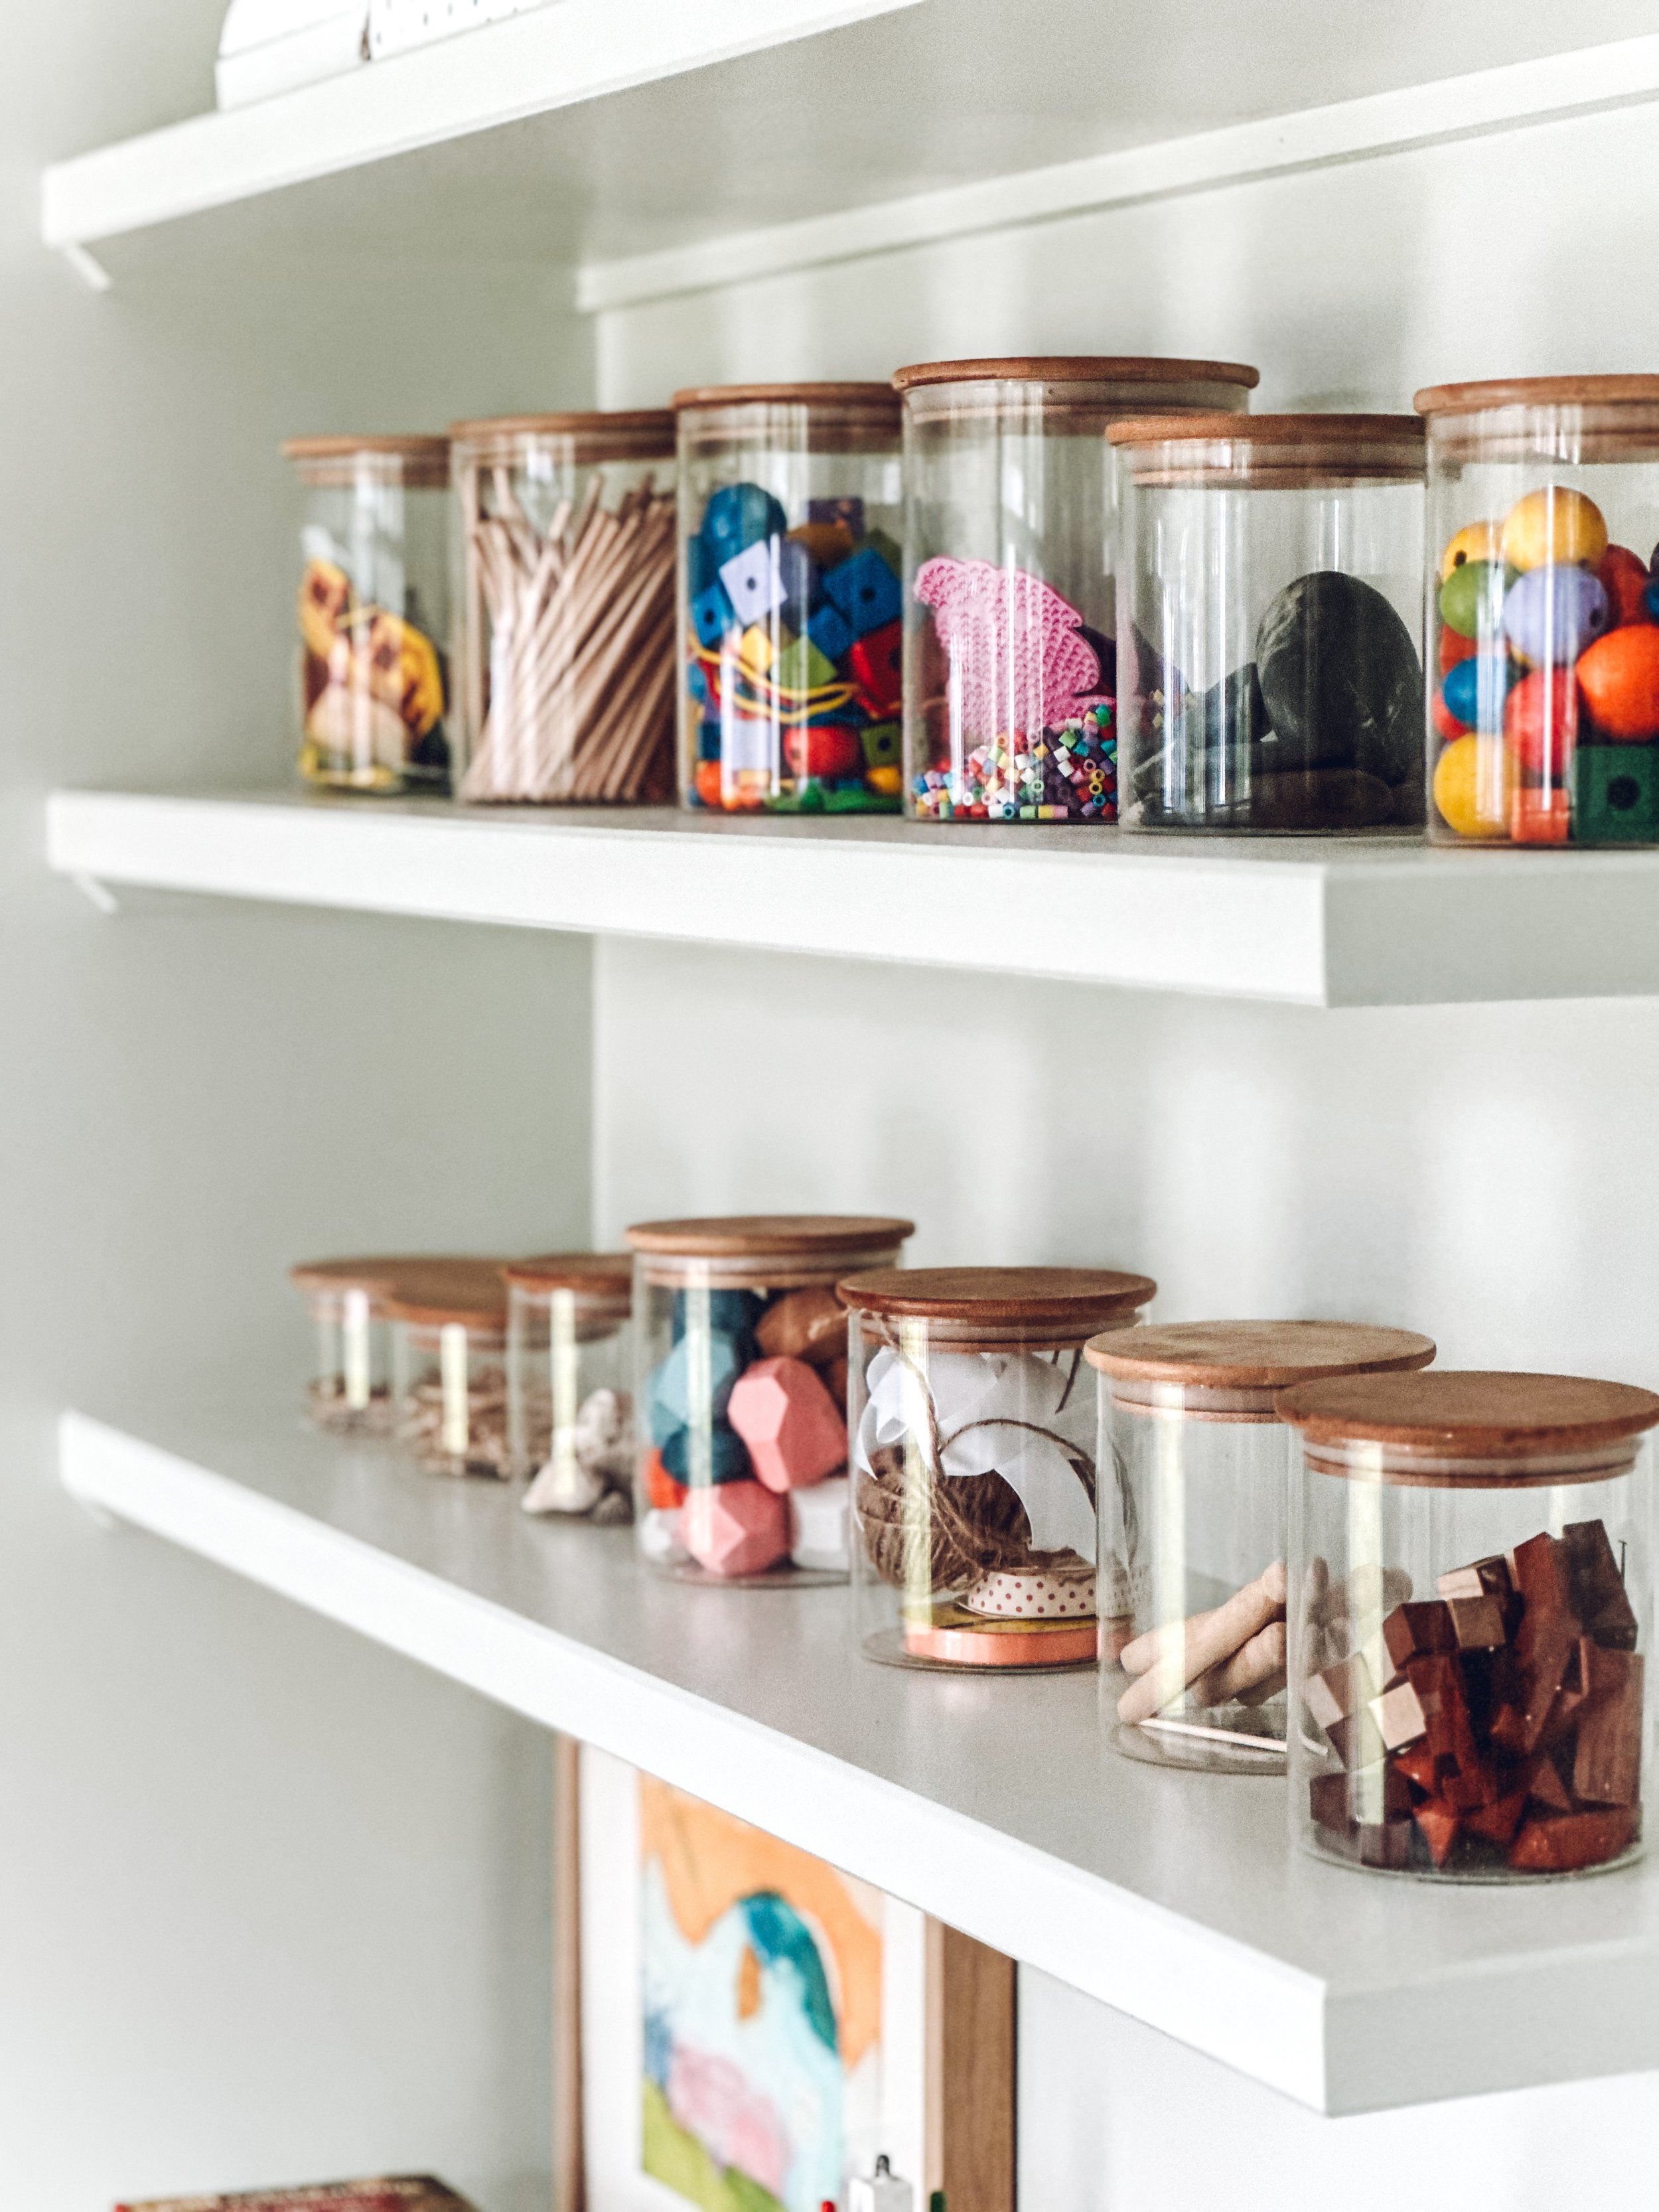
Organise by Category: Group similar items together and use clear labels to help kids easily identify where supplies belong. Consider organising by type of craft (e.g., painting, drawing, sculpting) or by specific materials (e.g., paper, beads, markers). Another option, clear jars or boxes. I personally chose glass jars as a visual aid for the kids to see what was in them, since at this point they couldn’t read! (We have encouraged the use of glass jars, glasses and table ware since very young)
Maximise Vertical Space: Utilise wall-mounted storage solutions such as pegboards, cork-boards, or hanging organisers to maximise vertical space and keep work surfaces clear. This can also serve as a creative display area for finished projects. Example, open shelves not only are an easy DIY to make, but also serve as a clean-lined storage area. Open shelves help prevent build up, clutter and encourage regular organisation.
Include a Work Surface: Dedicate a designated area for crafting with a sturdy and easy-to-clean work surface. A child-sized table or desk with ample space for creativity can encourage kids to spend time engaged in art and craft activities. In the picture below you will see we have a dedicated cork board in the ‘outside' craft’ station where the children choose their favourite to hang!
Safety First: Store potentially hazardous materials, such as scissors, glue, and small beads, in secure containers or higher shelves out of reach of younger children. Make sure all storage solutions are stable and anchored to the wall to prevent tipping. Now that the kids are a little older we have a stool for them to access the higher shelves and reach when they need.
Personalisation: Involve your children in the design process by allowing them to choose colours, decorations, or DIY projects to personalise their craft area. This can help them feel more invested in the space and excited to use it.
Regular Maintenance: Encourage kids to clean up after themselves by setting aside time for regular tidy-ups. Make it a fun activity by turning on music or setting a timer to see how quickly they can clean up their craft area.

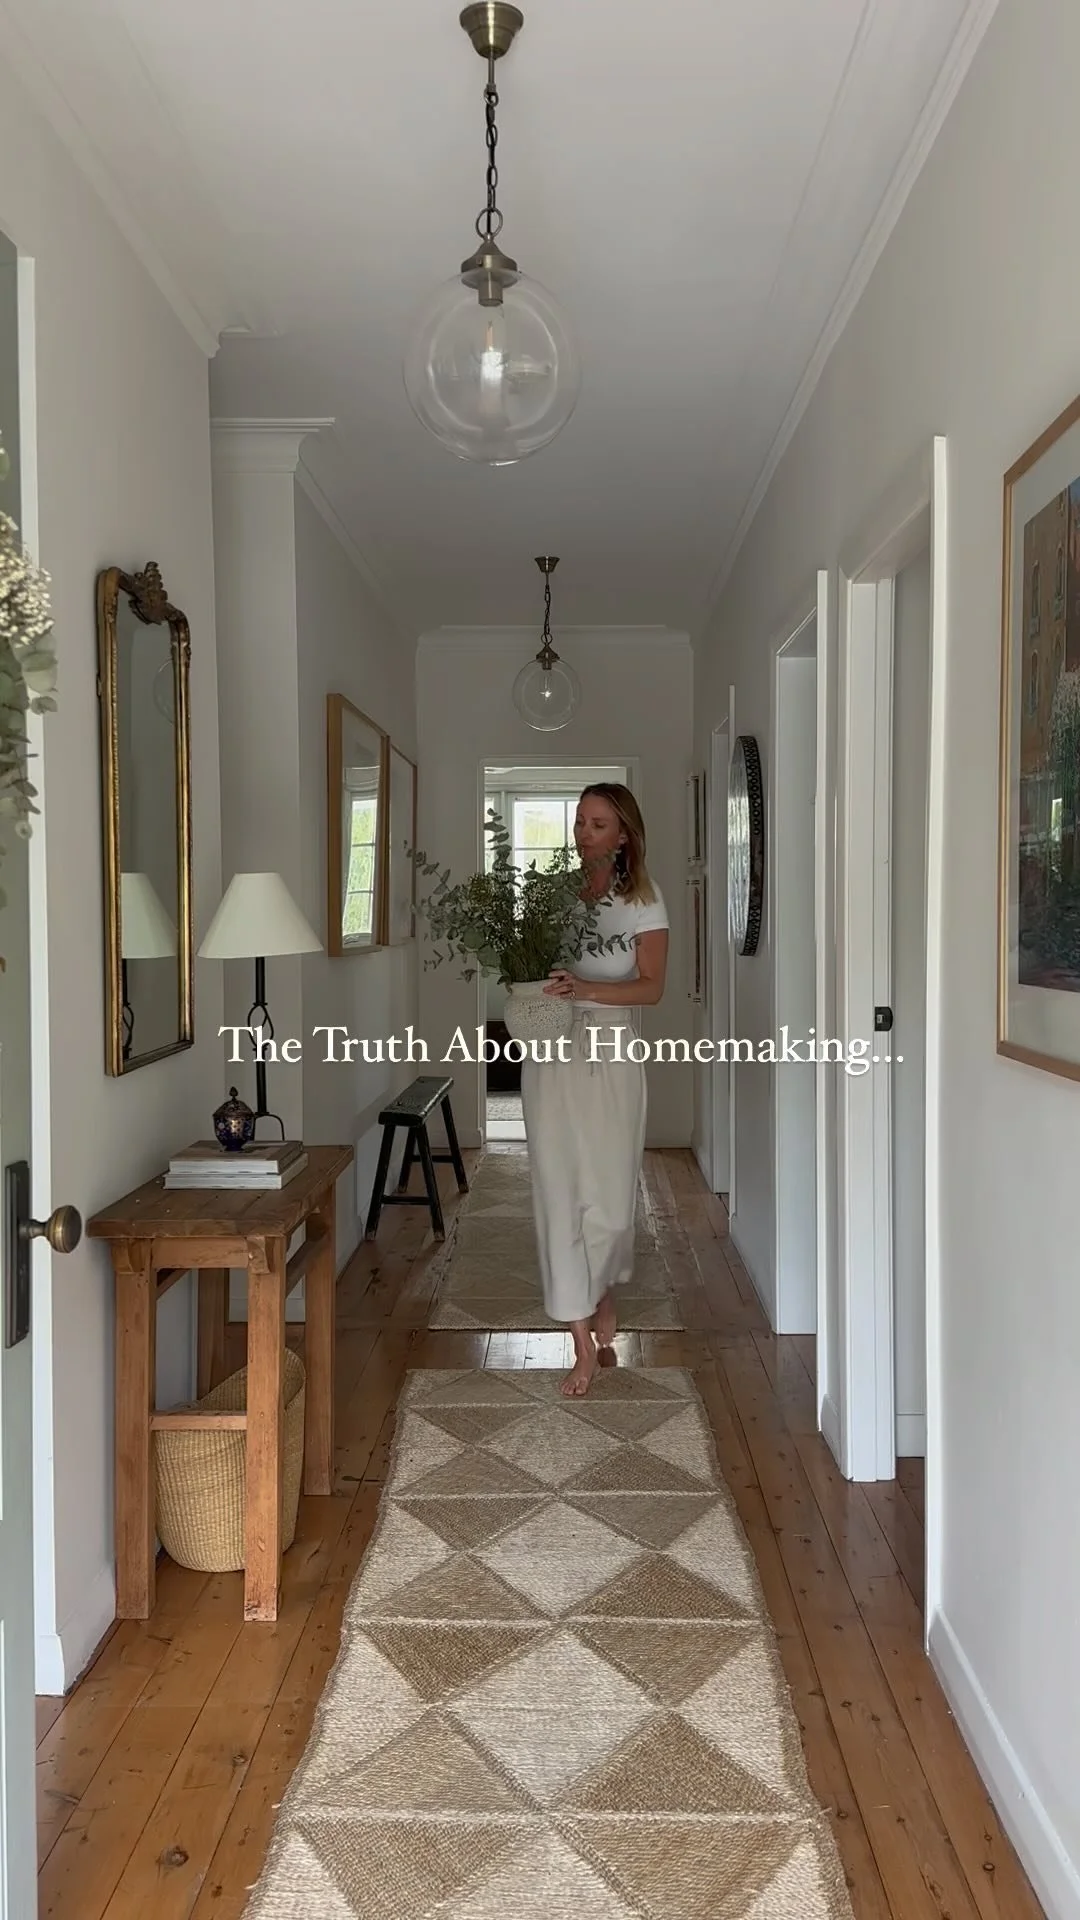
Watch behind the scenes how me made the kids craft area. We recently painted this room in a lovely gentle green, called it’s still green, British paints.


Recent Posts


Follow Maddy Evennett