Dream Office
I've always dreamed of having my own pretty workspace, and its been a journey to get there. It's true what they say: good things take time. Our home and lifestyle are designed around our family's goals, needs, and values, and I believe in encouraging others to do the same. And although your priorities may evolve and change with you, you are far more likely to love your result when decisions are purpose-led.
In our home, there's one room that's been a project in the making for about seven years. While it's been functional for the past five, completing the final stage hasn't been a top priority until now. We call it the ‘multi room’, it serves as a guest room with an ensuite and craft storage area for the kids. The fourth and final stage is to create a practical and beautiful office nook! Although this space is currently functional and semi-aesthetically pleasing with artwork hung and flowers in vases, it certainly isn’t my dream office.
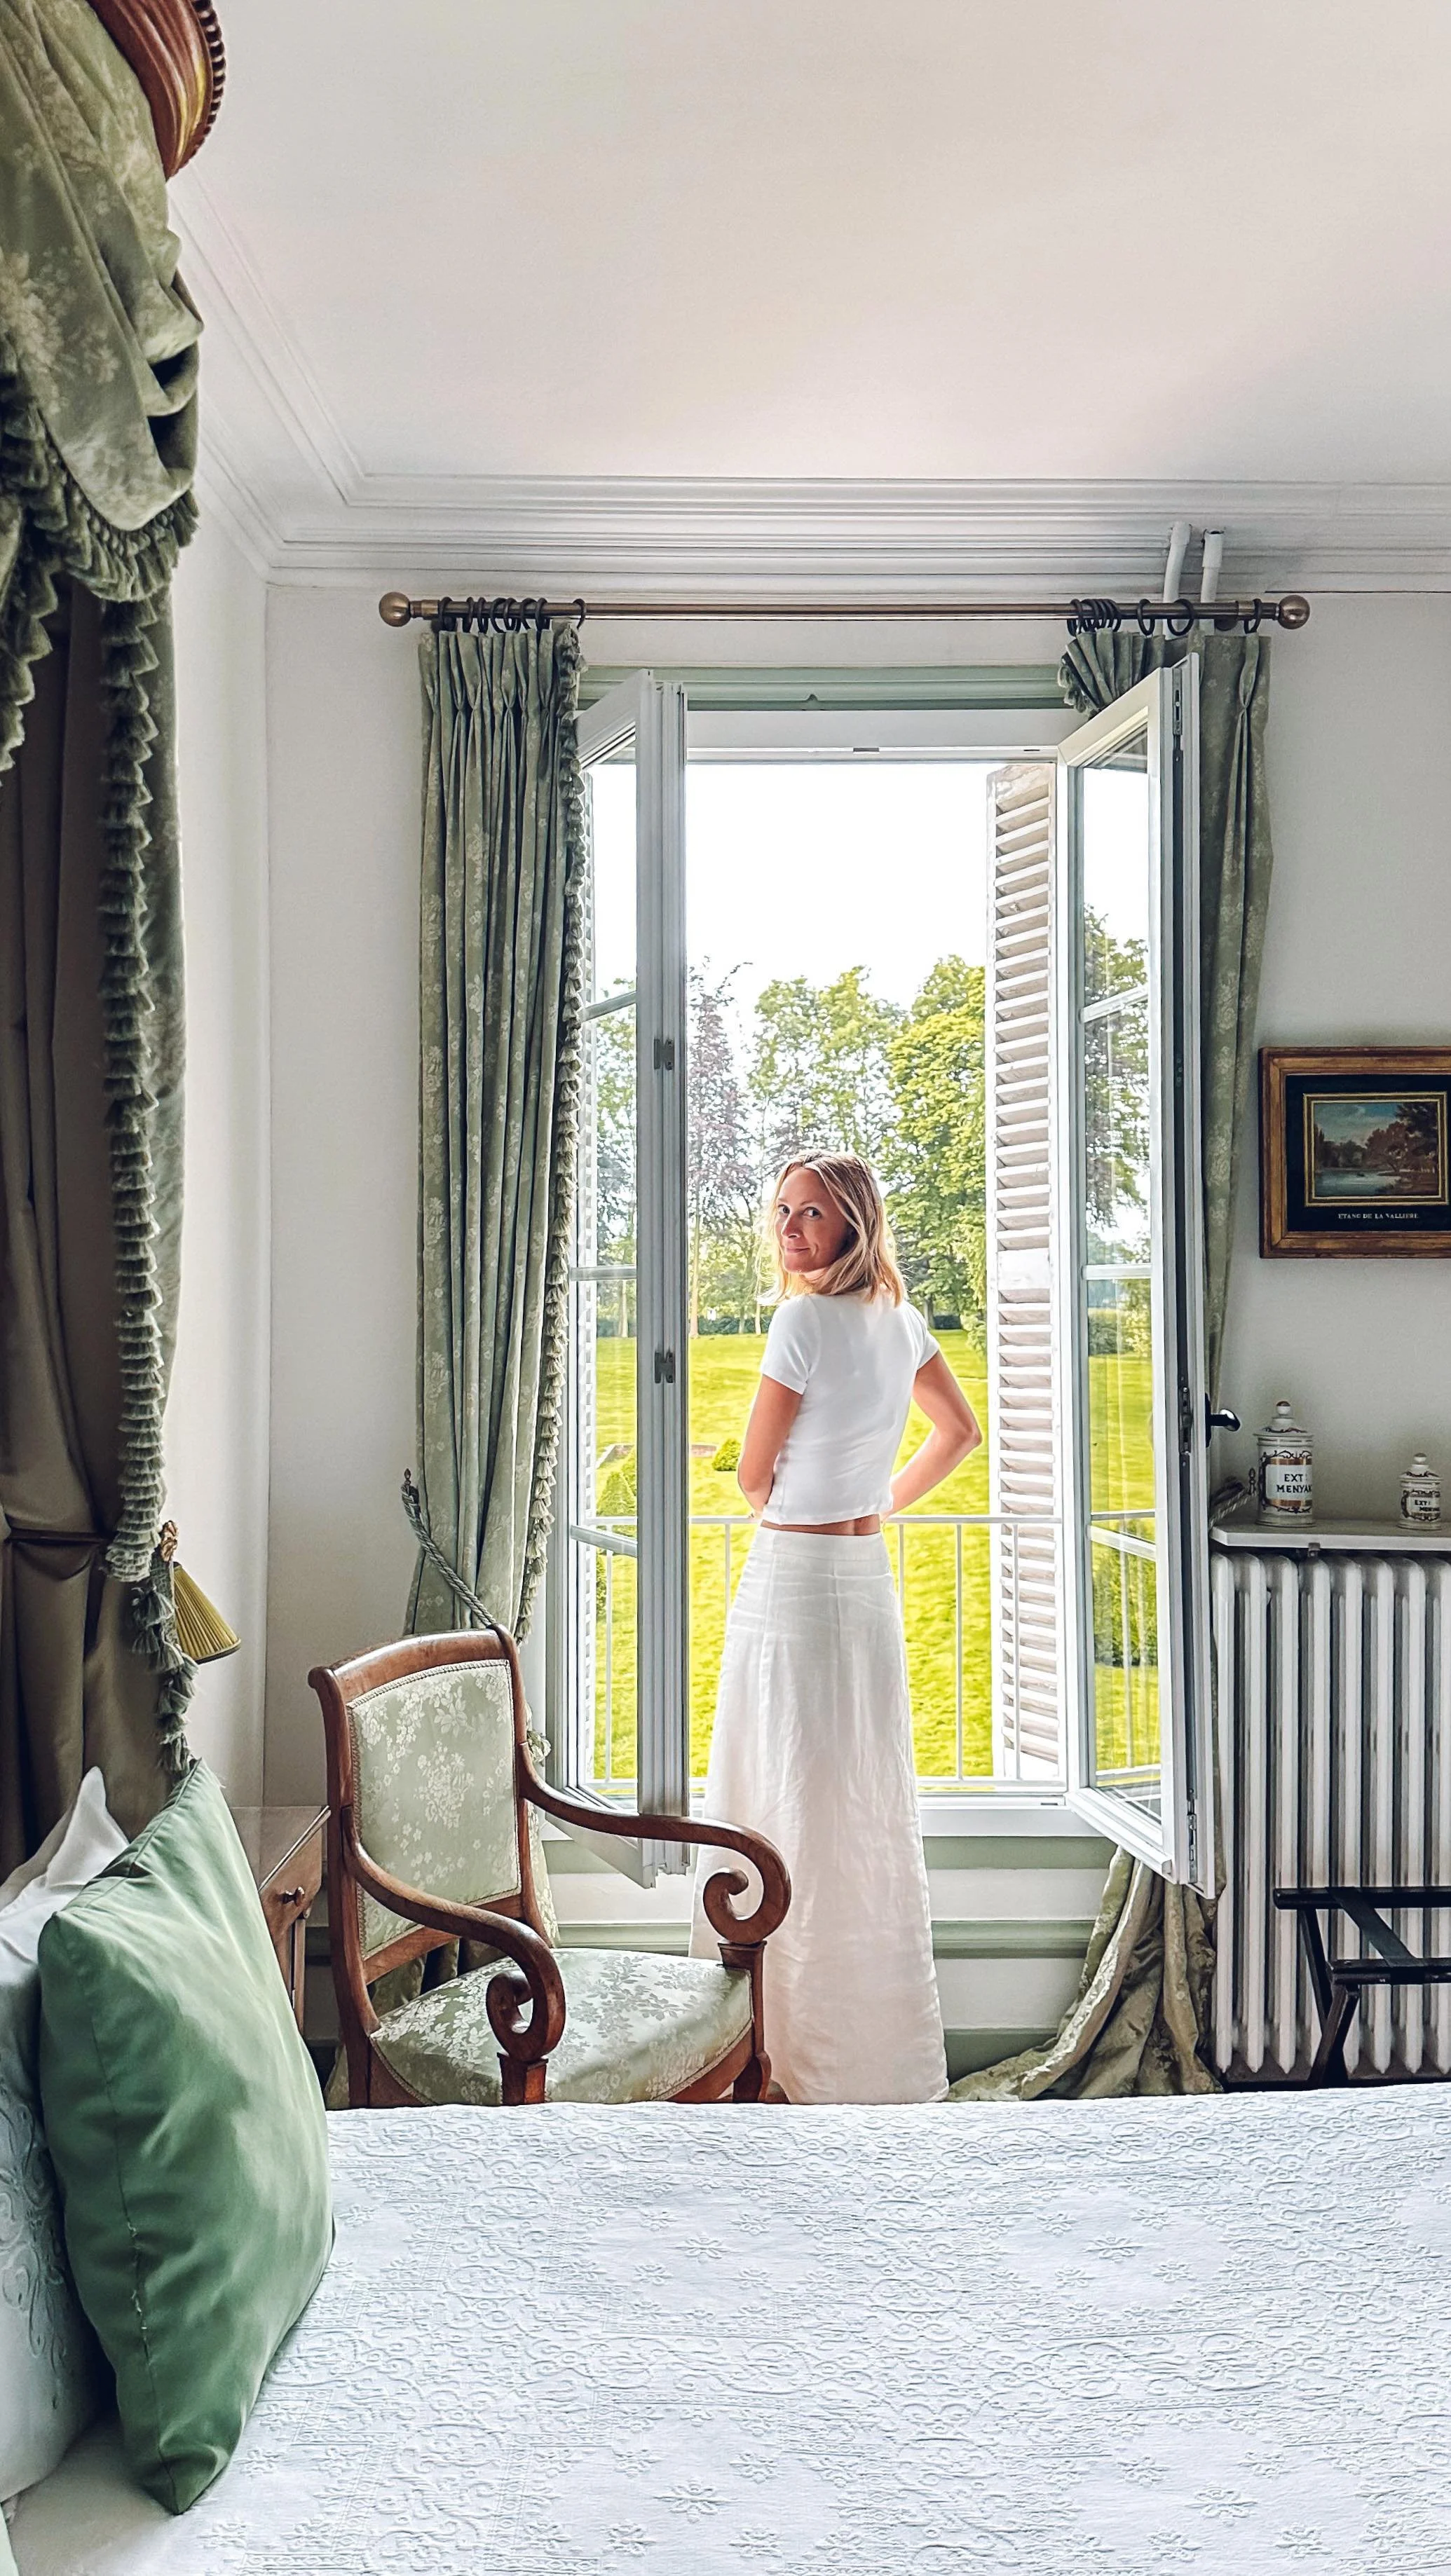
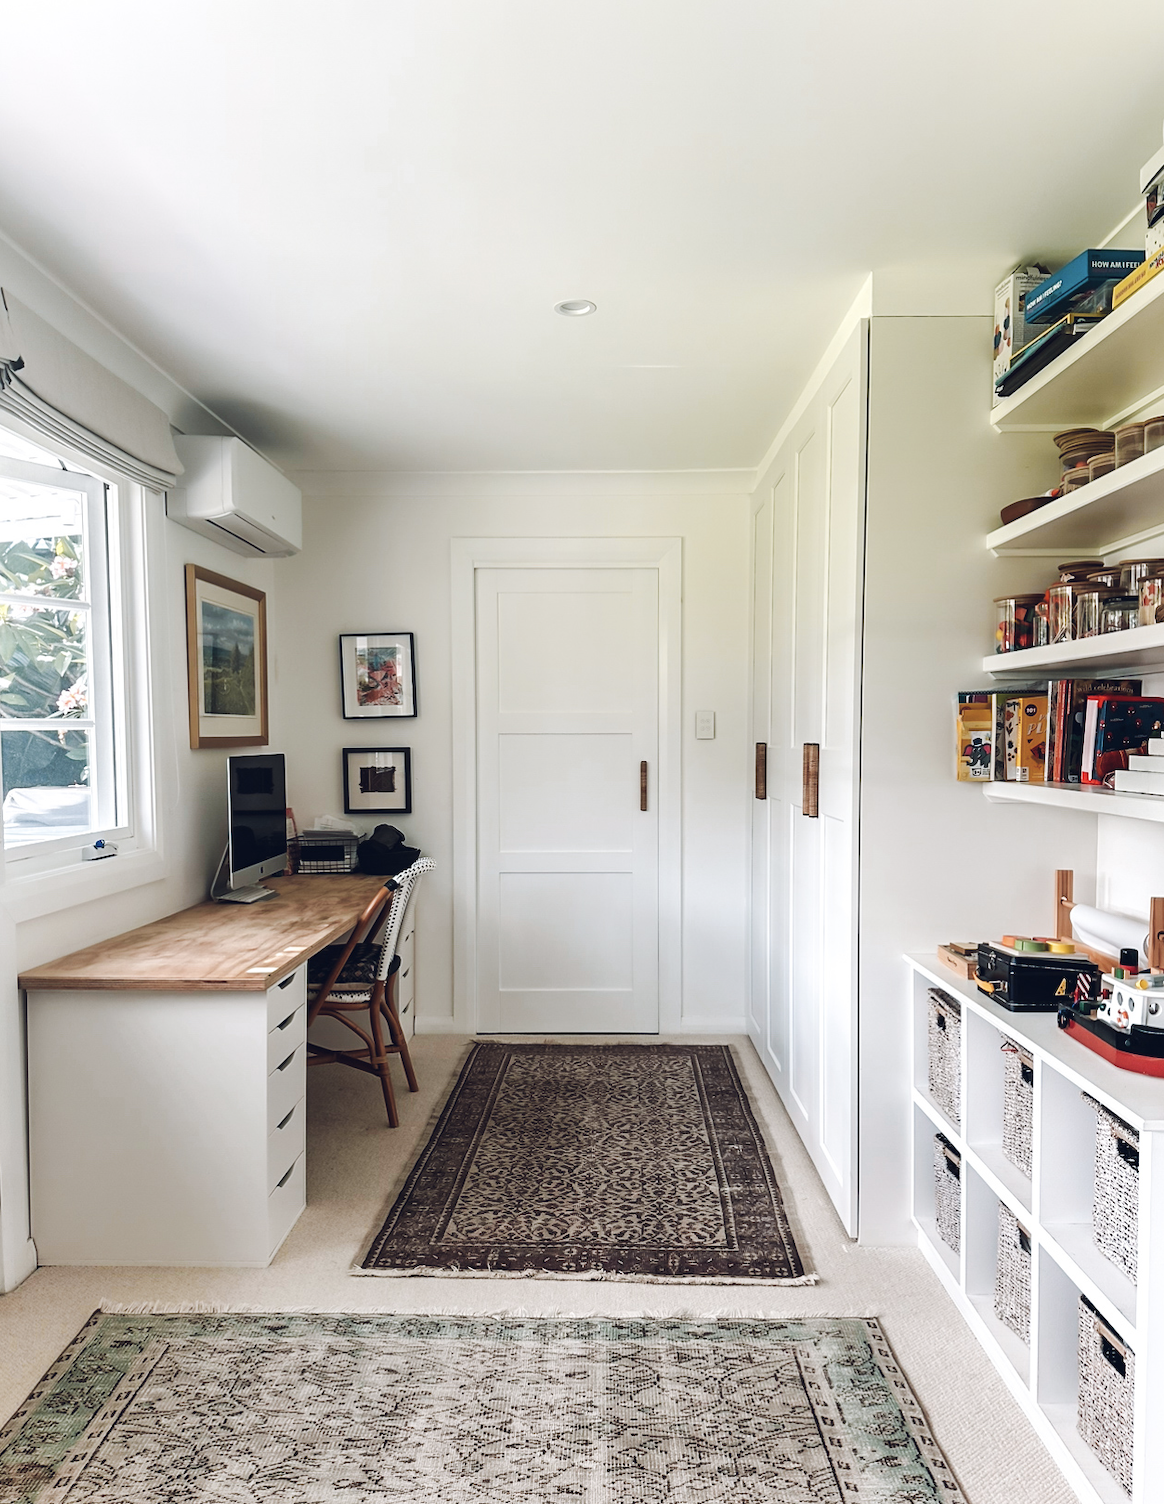
If you’re not at the stage of designing or outsourcing a beautiful home office, you can still make an area in your home a ‘dedicated workspace’ functional and welcoming with a few tricks, like I did. Pictured below is ours with a plywood desktop, IKEA storage units, vintage rug and artwork hung on the walls. When something feels welcoming and pleasant to be in, we thrive in that environment. You just have to take the first step!
I aimed to have my dream office when I reached a certain point in my business. Thankfully the time has come to create a my office!

Location-
As I wrote before, our home is created for our needs currently. The office will be located in what I call the ‘multi-room’, a room with many purposes. It is used as a bunk room for guests with a guest ensuite, a room for Ben to sleep in on nights if need be, and a craft storage area. Three zones, three functions and highly practical for us. See below for images.
The approach I teach to decorating and creating a home with purpose, is about intentionally considering your values, needs and goals. Once you have thoughtfully assessed this, there are three steps to implement to gain clarity with your vision. One of those steps is understanding how you want your space to feel!
Choosing key descriptive words that align with your design will help you bring your space to life with the right atmosphere! So, I always start with, how do you want I want this space to feel? For me, it’s serene, charming, clean.
Designing the mood is how we create a space to feel right… because the truth is, it can look beautiful, but does it feel right for you? I share more in detail about designing the mood here.

Personal Priorities for my office:
Natural light and direction for window. (Enhancing mood and productivity.) Due to the layout of this room, there is actually only one option for the layout of the desk! Right in front of the window. Storage filing system
Built-in and seamless to the corner of the room. (creates good flow and function for the room)
Open shelves for necessities within reach and visual appeal, also a way to integrate the AC unit in the design. (hiding with ventilation!)
Electrical located accordingly for aesthetic and task. Small lamp located on the desk, including a diffuser for ambience and mood, and led strip lighting for the shelves.
Filing system with cupboards and drawers for storage. Desk organisation is crucial to help boost productivity, concentration, and efficiency.
Office Steps accomplished so far:
Designed, measured and ordered for a built in custom desk space. Due to the level of detail and precision with built in cabinetry building around an AC unit too, (will share more detail on that soon) we have decided to outsource the carpentry.
Electrical planning
Office Next Steps:
Since the office is located in a room with other functions, I want it to feel cohesive and seamless with its surroundings. Therefore we are continuing the colour of sage green from the bunks across the entire room. More on the mood-board later…
Patch walls
Cover up niche (years ago Ben made a niche on one wall to install a TV. It turns out, we don’t watch that much tv and an artwork is much more suited to us!)
Paint the entire room, which includes the craft area too! The room is currently painted in vivid white by Dulux, and the bunk beds are a beautiful soft sage in British paints, still green. We have chosen to colour the entire room in this colour to make it feel cohesive and calm!
Plans and considerations:

I’m looking forward to taking you along with this journey, and keep an eye out for the next post, the design and mood-board! If you don’t want to miss out on early reveals, tips and insights, join the weekly journal newsletter here. And enjoy a free guide to 10 steps to loving where you live today!
Recent Posts

Follow Maddy Evennett